What the work should include
We review the opening, adjacent board and access above where relevant. Repair may involve supported panel replacement, joint finishing and texture blending. Active leaks, sagging areas or widespread deterioration should be assessed before a localized patch is assumed to be the right solution.
Choices to make before work starts
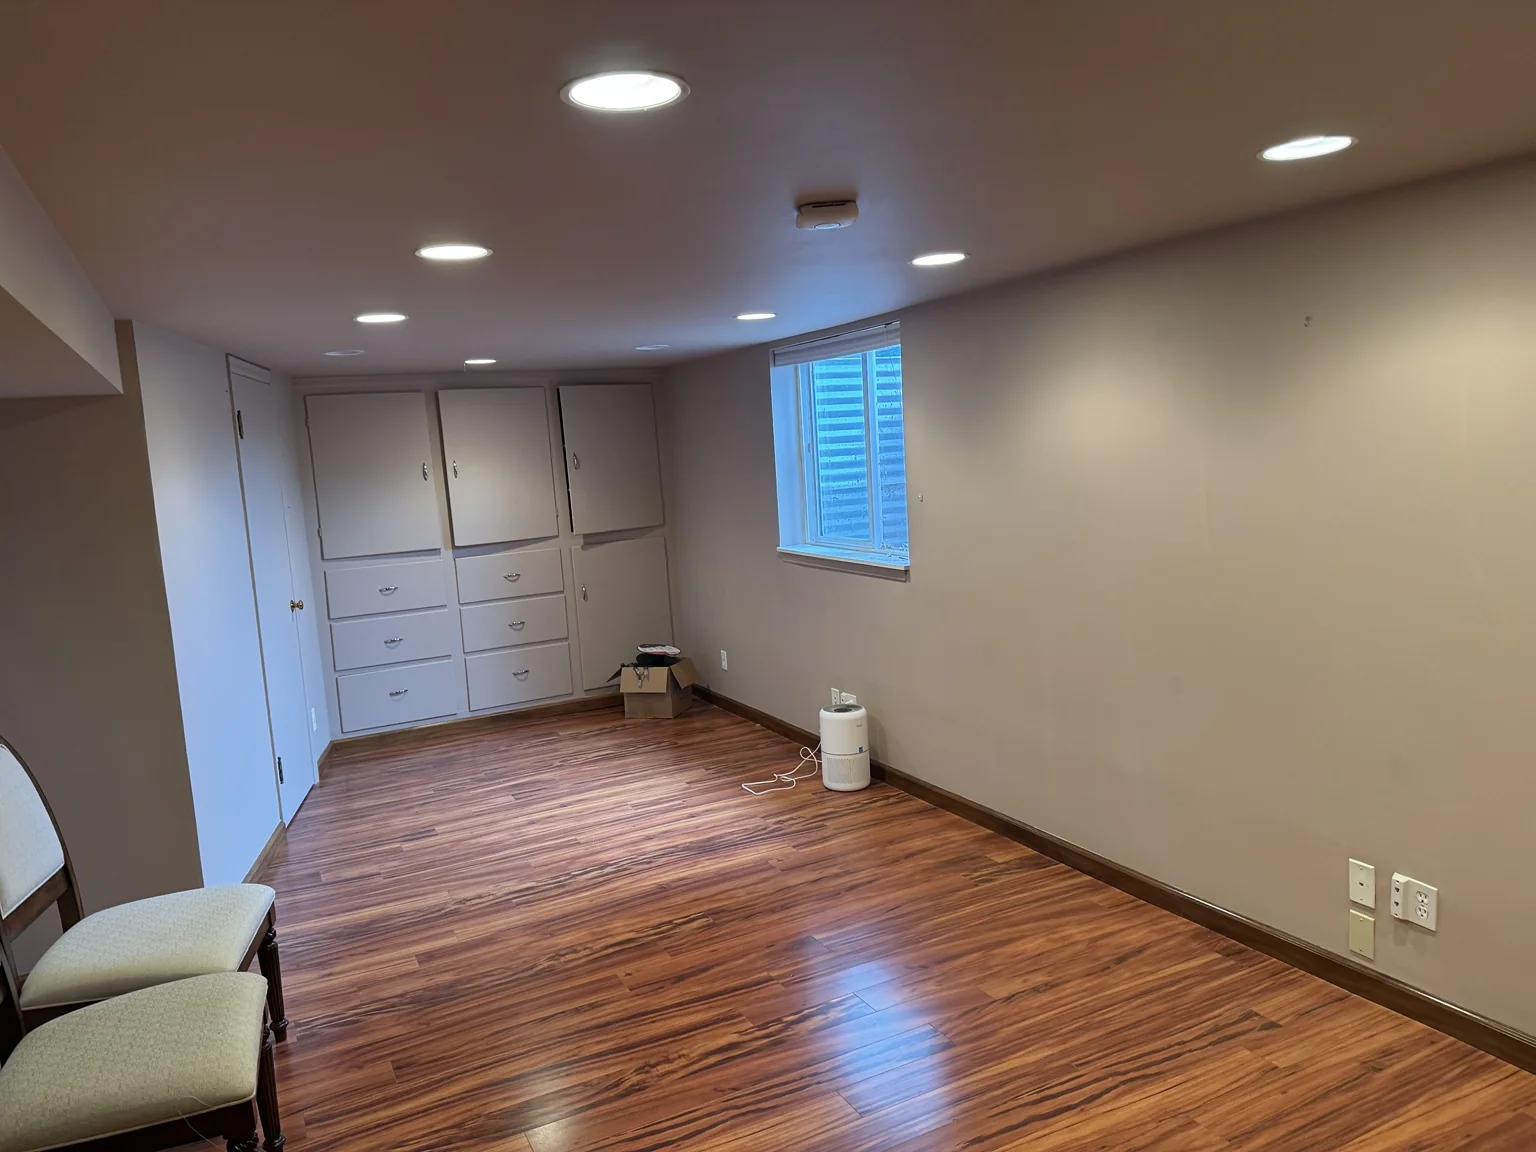
Decide whether the goal is a localized repair or a uniform finish across the ceiling. Existing texture and window light can make the boundary noticeable. Agree on whether painting is included and how far it extends before the drywall portion is completed.
What affects the estimate and schedule
Height, overhead access and the finish boundary influence labor. Include photos from directly below and across the room, plus the history of the damage.
Helpful project information
- Wide and close-up photos of the damaged or unfinished area
- Opening dimensions and the intended final finish
- Status of work or repairs behind the wall
A question about this work
Can a ceiling patch be made invisible?
A careful repair can blend well, but matching aged texture and paint can be challenging. Review the expected appearance and repainting boundary together.
For technical background, see USG finishing and decorating gypsum panels. Your selected materials and project requirements determine the actual installation or finishing instructions.